How To Host a Cookie Decorating Party
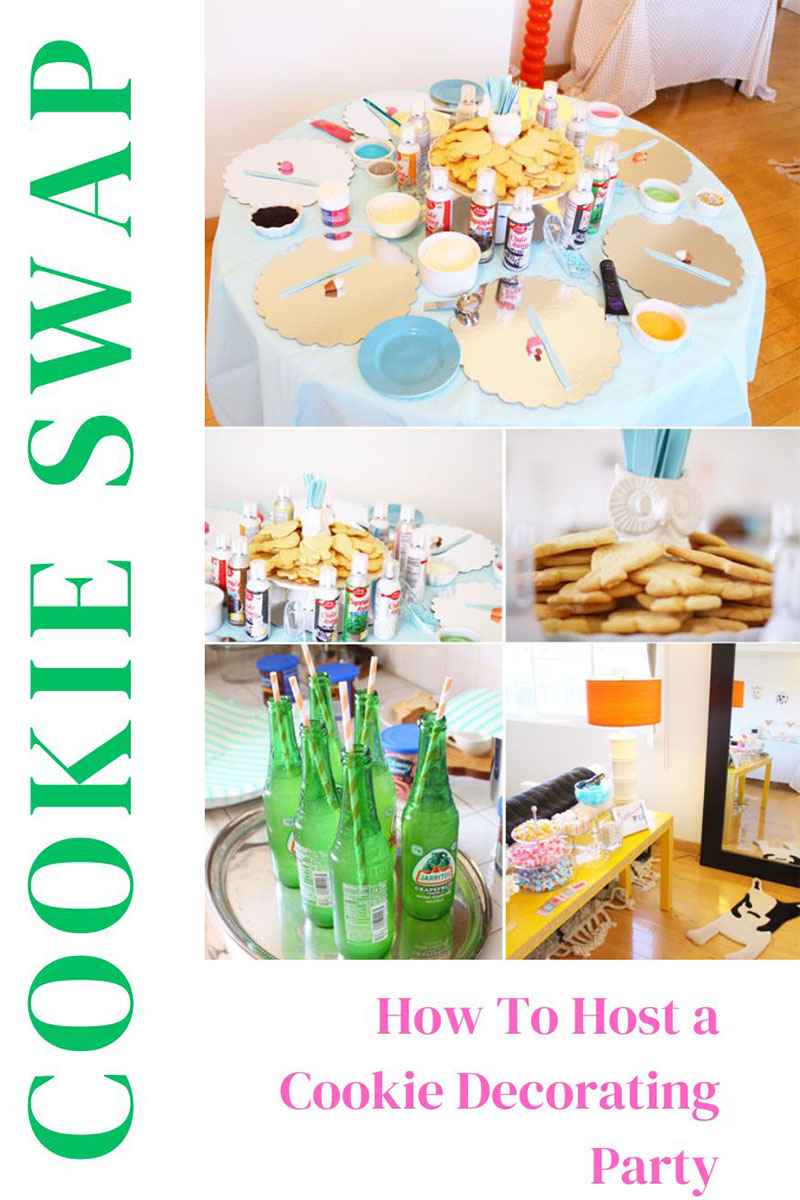
Hosting a cookie decorating party or cookie swap? I hope these tips and pics from the party I hosted help you this holiday season! Read how to host a cookie decorating party below!
Behold, the steps for throwing a holiday cookie-decorating bash of your own!
Things are already in that frenzied holiday season mode and if you’re like me, you’re all in a tizzy. So before things get any crazier, I wanted to share photos from our holiday cookie-decorating party — in case you want to host a cookie decorating party.
What started as a small meeting of girlfriends for some holiday cookie decorating fun quickly spiraled into a more elaborate affair as my mind swam with the possibilities (sugar! sprinkles! blogger friends! oh my!).
Step 1: You can have lots of fun… (Sorry, NKOTB reference!) Find cookie cutters that your guests will be giddy about.
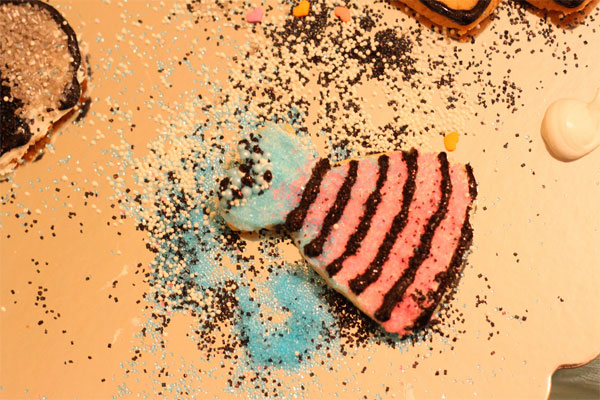
My lady friends are predominantly fashion bloggers, designers and publicists so imagine my delight when I discovered you can buy a Fashionista Cookie Cutter Set! So fun, right?
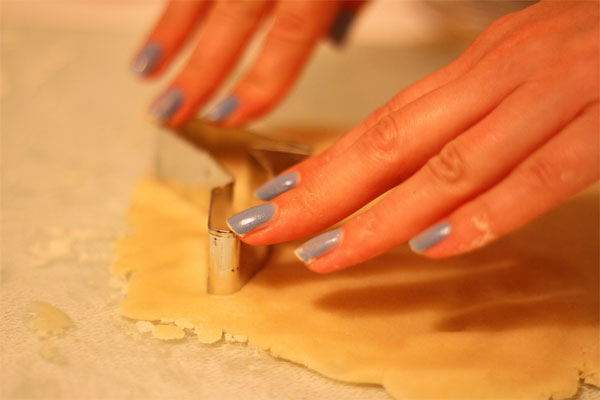
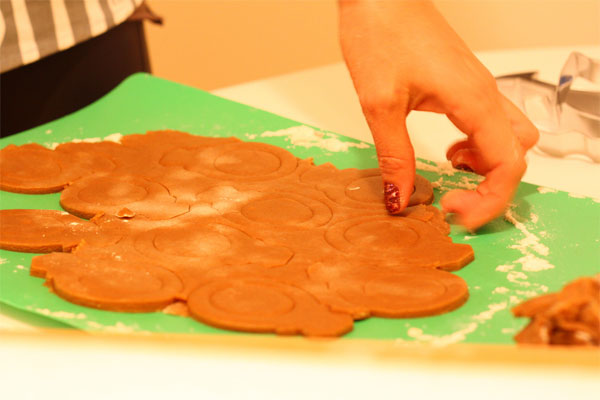
Step 2: Bake your cookies ahead of time so you can enjoy decorating and socializing with your guests at the party.
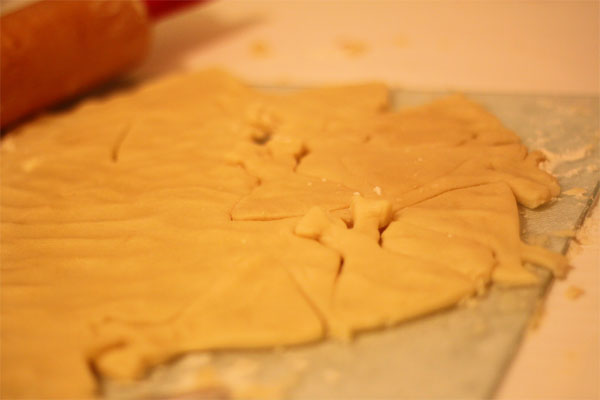
Suzy, my fabulous co-host, friend and jewelry designer of Rossmore, came over the night before for an evening of playing with dough. (Confession: We totally cheated and used readymade dough from Pillsbury and Trader Joe’s, as we figured this was more about the fun of decorating than the perfection of taste. That said, they tasted pretty snazzy!)
Tip: The trick with using readymade dough, however, is to add extra flour to the dough when you roll it out, so it’s firm enough (and not too buttery) to make cookies that will hold their shape — otherwise they’ll spread into an amorphous blob (kind of like me after a night of eating unlimited cookies, the irony!).
We may have overestimated how many cookies we needed, because around 1am, when we were finally done baking, we realized we had 175 cookies (for 25 guests) — yowza!
Tip: Four cookies per guest is more than plenty.
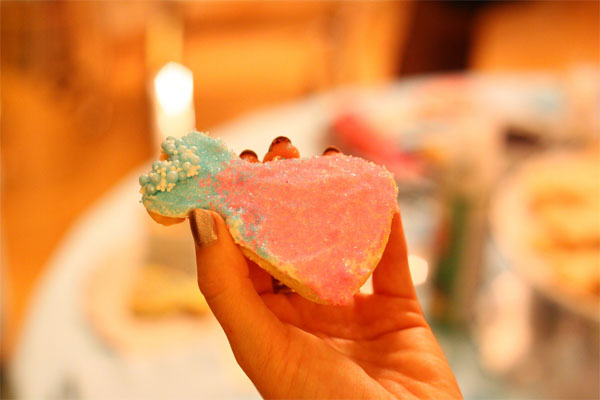
Now for the fun part: decorating!
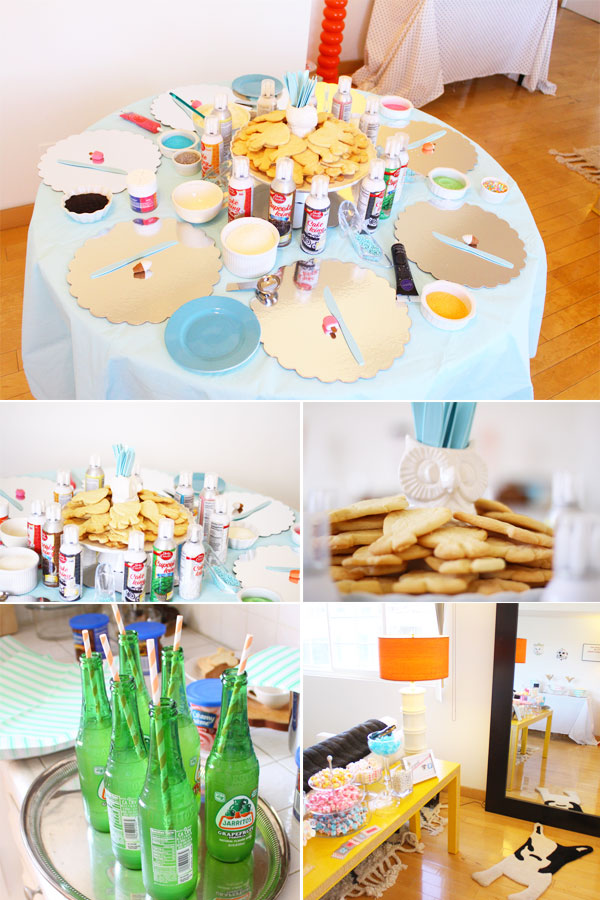
Step 3: Lay out all of your cookies on plates or trays.
I like to keep the same shapes grouped together and almost always opt for white plates, so whatever you’re serving can take center stage.
Tip: Feel free to get creative with your cookie presentation! I was inspired by the great Oreo cake of birthday past to stack the dress-shaped cookies in a circle on a cake plate, so that it would kind of resemble a Christmas tree (and it kind of did, in my head anyway).
Tip: You can find a baby blue tablecloth here.
Step 4: Set up your cookie-decorating station!
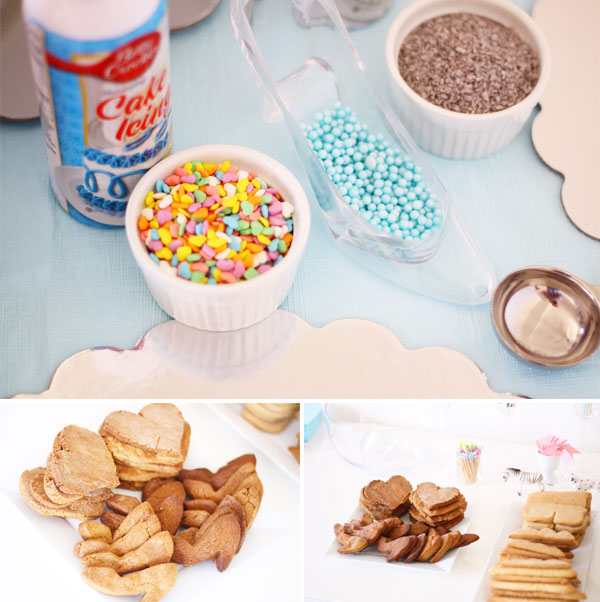
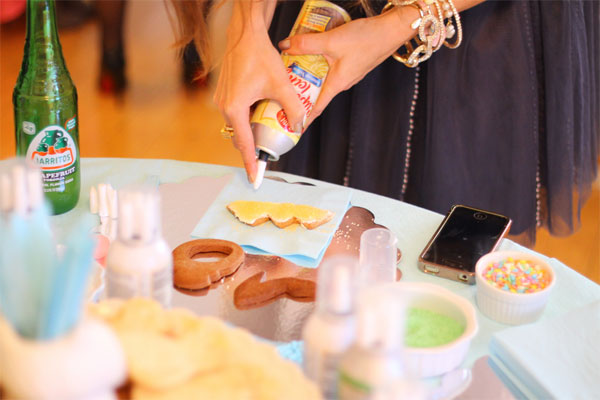
I found these cute silver scalloped cake plates at Wal-Mart (I know!), which made for perfect spots in which to decorate cookies. I also found these cans of icing at Wal-Mart, which are genius, as they have different decorating tips on them (use them the same as Reddi-Wip). This saved loads of time and effort (otherwise you’d have to pipe icing into pastry bags or get a decorating kit and use dye and the whole shebang). Way to save my life, Betty Crocker! (I also emptied a few jars of vanilla store-bought icing into white bowls, as I knew it’d likely be the base for many a cookie. Stick a spatula in it too — this way you can trick your friends into thinking you actually made the icing.).
Tip: Always lie to your friends.
I emptied different sprinkles and toppings into little white bowls, which looks more glam than leaving them in the containers they come in (bonus: they double as decor!).
You can find a baby blue tablecloth here. I also love this sequin tablecloth too!
Step 5: Invite a gaggle of girls/friends over to OD on sugar (this is the most important step!).
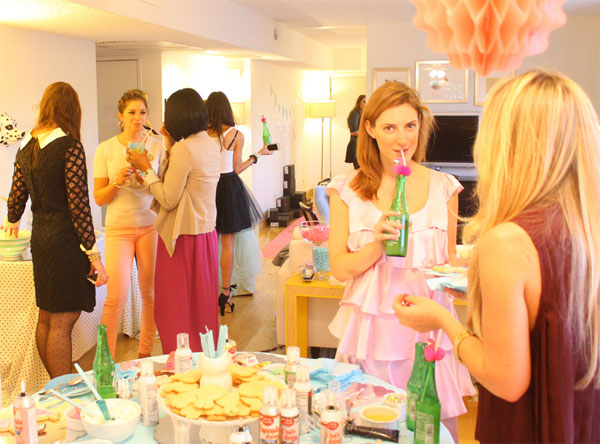
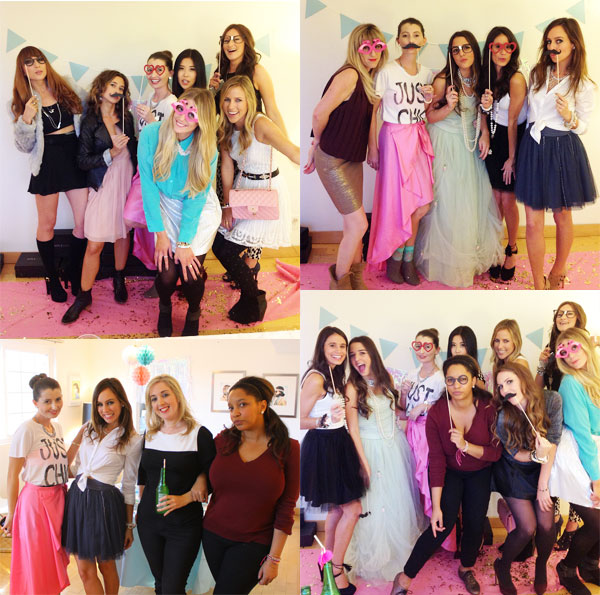
Tip: Suggest a fun dress code. I requested that guests channel their inner girly girl and wear either pastels or black and/or white, as this photo served as the inspiration for the entire shindig. Having a common theme makes for better pictures, too! (Recently my friend Joy requested everyone wear their favorite patterns to her daughter Ruby’s first birthday. Such a fun idea!).
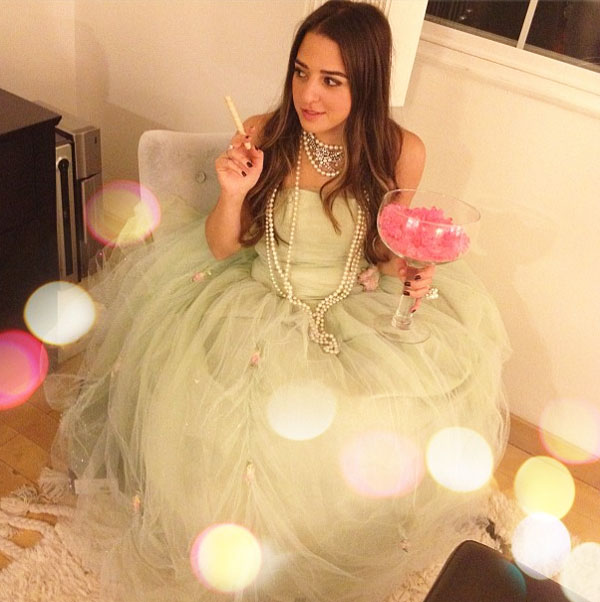
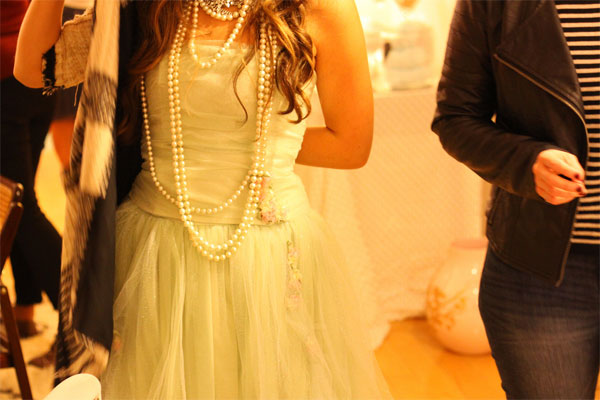
Guests showed up in tutus and all sorts of fab girly holiday attire, but I must admit that the most jaw-dropping look of the night went to my friend Shauna, who, dripping in pearls, wore her frothy mint green bat mitzvah dress. A Carrie moment if I ever saw one!
Step 6: Decorate! Duh!
Step 7: Serve a signature cocktail.
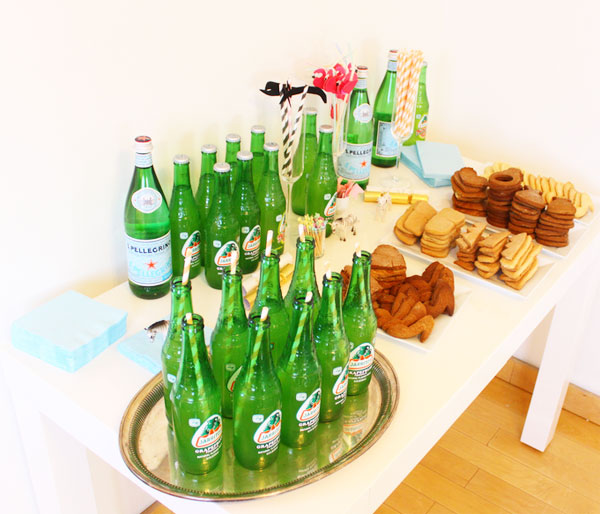
Inspired by The Paloma in Mrs. Lilien’s Cocktail Swatchbook, we bought a few cases of Jarritos grapefruit sodas. My first thought was to toss them with tequila in a punch bowl, but then Fred Baby had an even better idea (and one that would help prevent spills on our new white sofa and rug!)…
Tip: Empty a little of the soda from each bottle and then add tequila TO the bottle itself. Double bonus: The bottles are so cute they act as decor and you won’t have to wash glasses afterwards. Score! Add a striped straw and it’s time to party.
We poured the excess soda into a punch bowl and later added a smidge of OJ and tequila for an end-of-the-night refresher. We also left some bottles as-is and had plenty of Pellegrino on hand for those who preferred non-alcoholic concoctions with their cookies.
Step 8: Serve a few snacks but keep it simple.
If you actually want to spend time with your guests, having food prepared ahead of time (or that can easily be tossed in the oven) is the way to go. We also held the party from 3-7pm, which is after lunch and before dinner, so were focused on just providing snacks, as opposed to an entire meal.
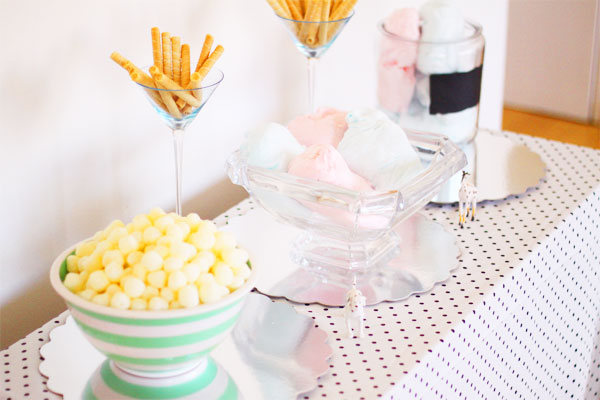
White cheddar puffs, lemon pirouettes (both from World Market, who has great little dry party snacks), cotton candy (okay, that may have been for looks), and one hot appetizer: spanakopita from Trader Joe’s (great for frozen apps you can pop in the oven).
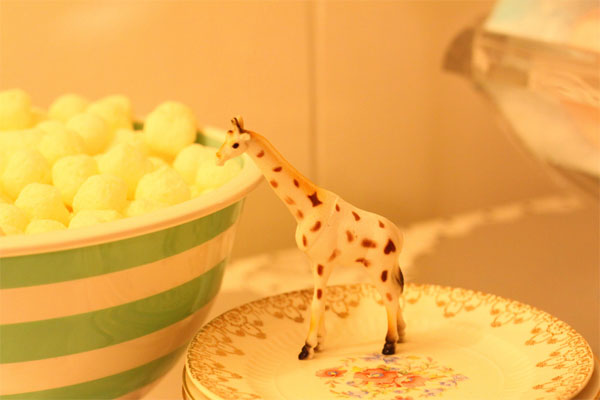
To add a little vintage charm to the affair, we used these darling vintage plates.
Clearly, we weren’t the only fans…
Step 9: Have a candy bar! No, not that kind of candy bar…
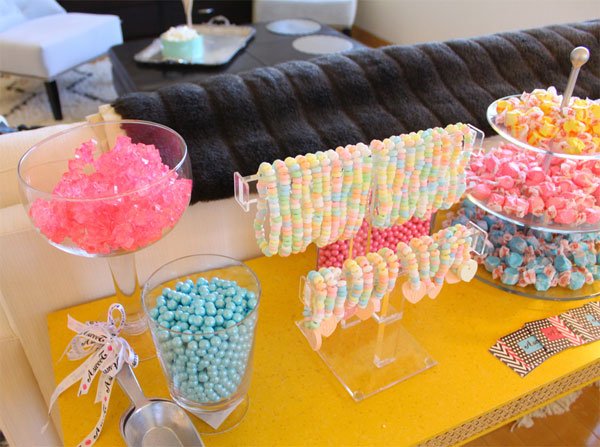
Of course, the piece de resistance was a candy bar!
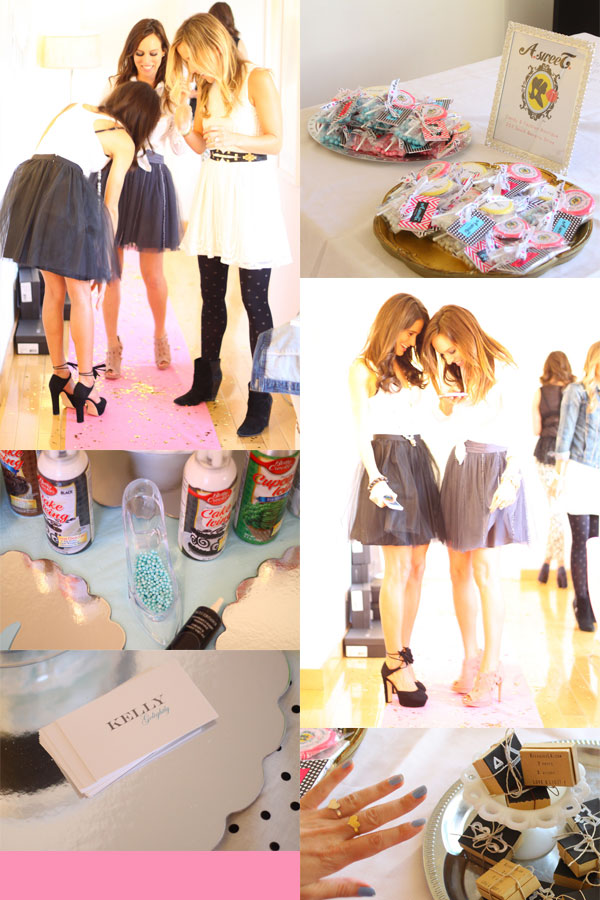
Chic candies really added glamour, color and fun to the party and everyone got to take home a goody bag of sweets! And we all had fun wearing candy necklaces.
Faves to serve at your candy bar:
Candy necklaces & bracelets
Blue candies (they come in a rainbow of colors!)
Rock candy in pink & other fun colors!
Above: Jenny of Good Bad and Fab with Catherine of The Life Styled; Me with the lovely Shauna of Penny Chic, Andrea of A.SweeT., and Sydne of Sydne Style
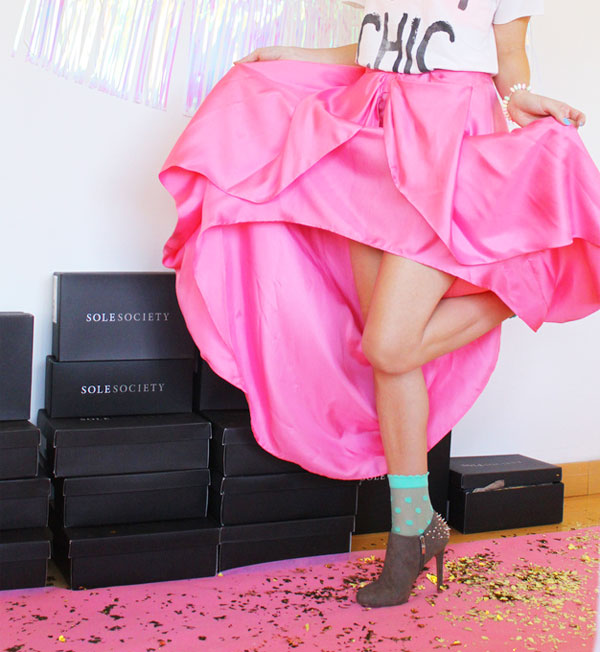
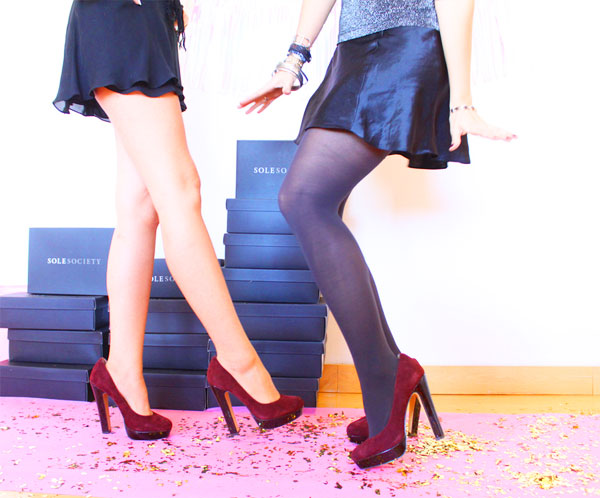
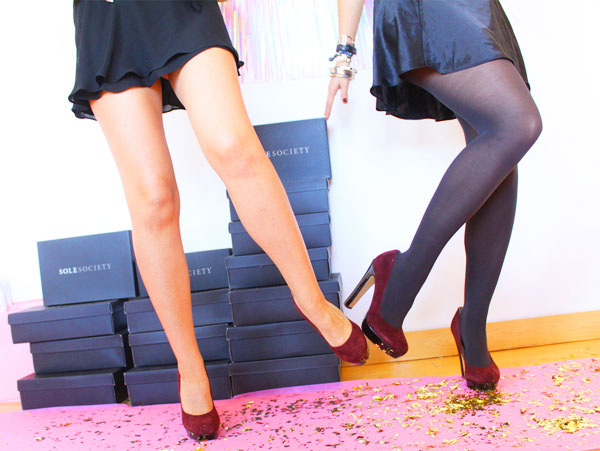
Speaking of things we all had fun wearing, Sole Society who generously gifted each guest a pair of shoes! Sole Society (which is now a Nordstrom company) generously offered to sponsor our sugar-fueled dreams, so we could do what girls do best: go crazy (in case you haven’t gotten the memo: Girls just wanna have fun!).
Above: Suzy of Rossmore and Mele of Velvet Meadows
Which brings me to my next tip…
Step 10: Set up a photo booth!
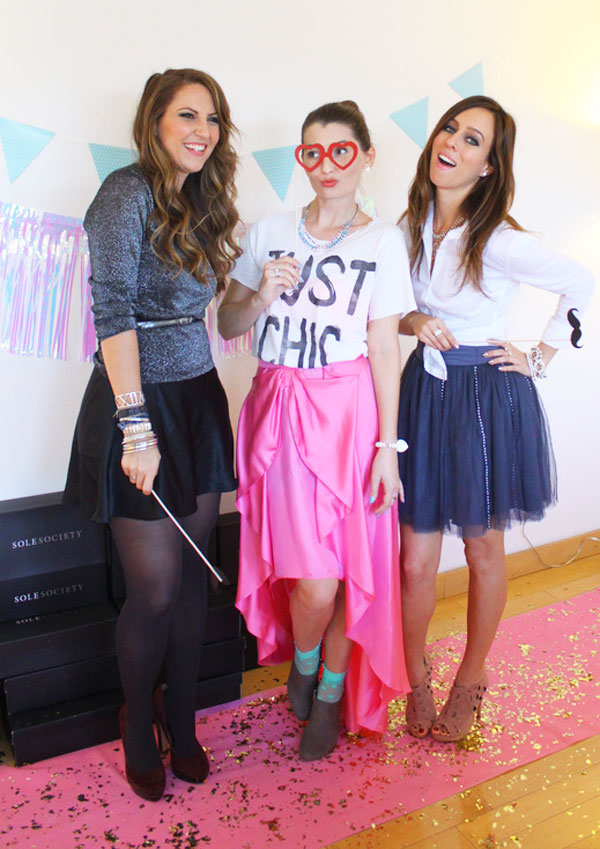
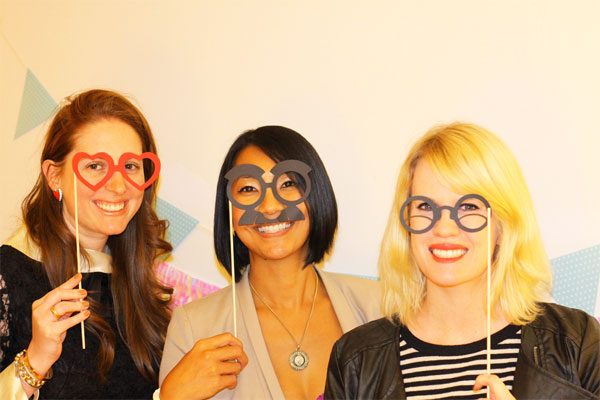
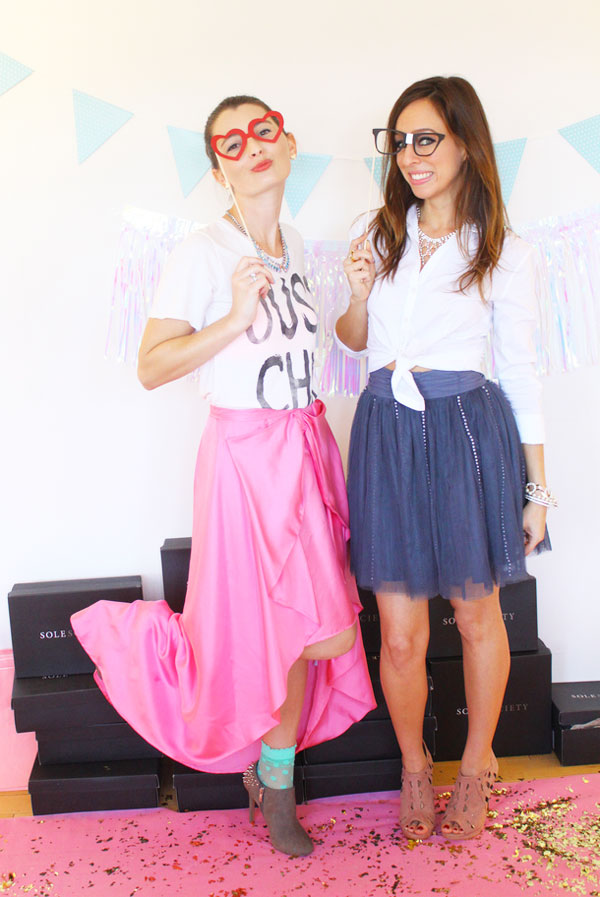
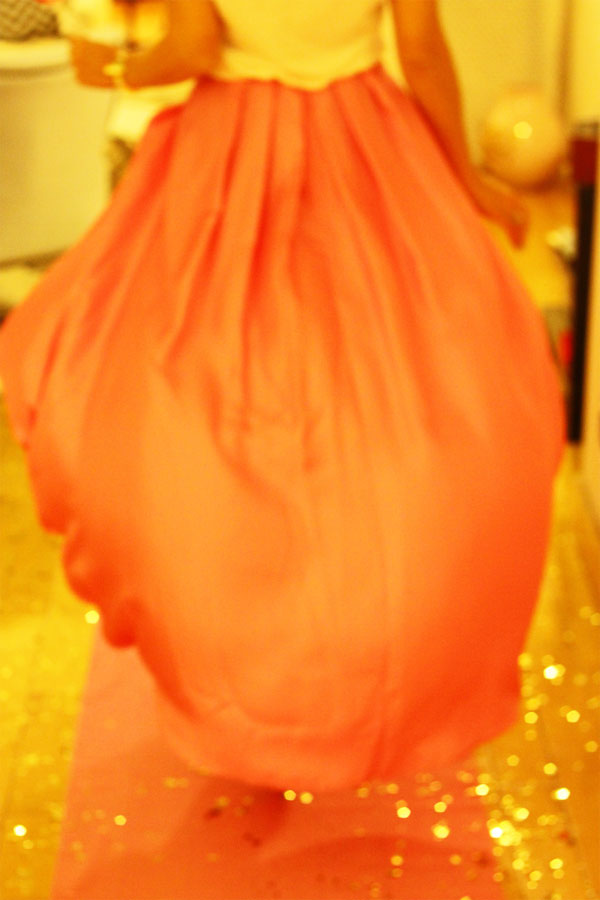
If you want a guaranteed way to capture pictures of all of your guests, a photo booth can’t be beat. Plus, it never ceases to provide endless hours of entertainment. You can DIY or buy cute photo booth props online, if you’re a total cheeseball like me, even lay down a pink carpet sprinkled with gold confetti for your guests to walk the runway (oh yes I did!).
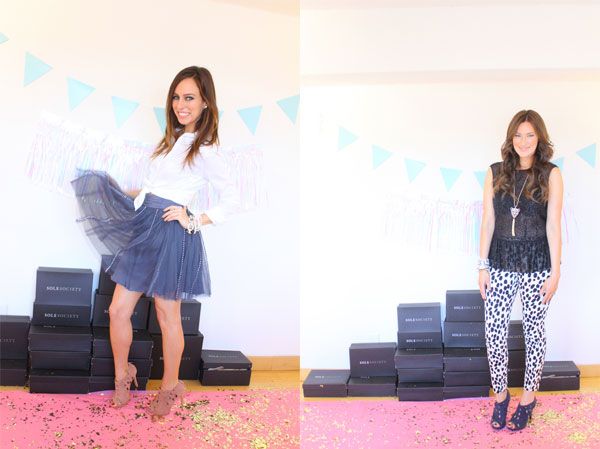
For our backdrop, we simply used a white wall in Fred Baby’s office that we decorated with a little baby blue bunting and fringe. Voila, a photo booth!
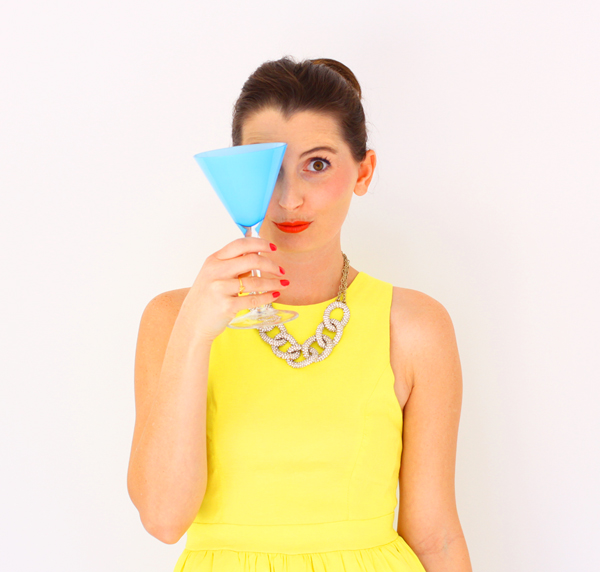
Above: Bee of Design, Velvet Meadows, Olesya Rulin, Rossmore, Good Bad and Fab, Kelly Golightly, Damsel in Dior, Penny Chic, A.SweeT., Sydne Style, Susan Thompson, Megan, Jenny, Alice, Glitter ‘n Glue
Tip: Setting up a photo booth is easier than you think.
Option A: If you have camera that works with a remote (like our Canon T1I), then slap that bad boy on a tripod and get to clickin’! Alternatively, if you have the latest iPad, there’s a photo booth app (yes, there’s an app for that!). Then, on your iPhone, you can download an app called CamLight that lets you press a button on your phone and it acts as a remote (amazeballs, right?!). Oh, and you can get a tripod attachment for your iPad too, so this whole shebang works. Or, with either option, just ask your friend to snap your pic! Afterwards, we upload all of the photos to Flickr and invite guests to view the album (and download whatever pics they like). Easy peesy.
Above: Devon Rachel, Style Wax Poetic, Honestly Jamie
Step 11: Geek out and chic out!
Grab your best friend — or your best Fred Baby (the only mister at the party — poor guy having to be surrounded by 20+ beautiful ladies — and the one who makes all things possible…thank you Fred Baby, I love you!!) and ham it up…
And glam it up… Werk!
In addition to the generous shoes from Sole Society and sweets by A.sweeT., Suzy also gifted everyone Rossmore wish bracelets. Make three wishes (and knots when you tie it on) and wear it until it falls off for your dreams to come true — don’t mind if I do! Although, I feel like my sugar-fueled dreams did come true.
Thanks to all of our generous sponsors, collaborators and co-conspirators. I can’t wait to do it again!
SHOP THE POST
Creative direction: Kelly Golightly
Photography: Fred Moser
Sponsor: Sole Society
Candy: A.sweeT.
Jewelry: Rossmore
This post was originally published in 2012 but has been updated with current links.
related posts
Red, White & Blue Fashion Fav...
Colorful Summer Style
Sharing colorful summer style favorites, including the famous neon belted trench coat, rainbow striped maxi dress and more fun finds from Boden!
read more25 Pretty White Dresses: From Roma...
What's more of a spring wardrobe staple than a pretty white dress? I rounded up my favorite pretty white dresses, from romantic to classic.
read moreIs This the Perfect Wedding Guest ...
Looking for the perfect wedding guest dress? We've found it! Check out this floral mini swing dress in yellow and blue, plus more options!
read morePool Cover Ups for Chic, Easy Days...
Looking for pool coverups and tunics for chic, easy days at the pool or beach? I've rounded up my favorites for vacation and everyday!
read more










Wow – what a FANTASTIC party!!
Thanks Kate! It was a blast.
Amazing! Ok, clearly some fashion bloggers in SF need to get together and host a party like this!
http://www.w-t-fab.com
I’d love to see pics of that! Maybe YOU should host it? 😉
Haha, maybe!! You’ve inspired me =)
That was such a great party! I had so much fun!
So happy you could make it! And you looked like a sweet confection in your Lisa Michelle ensemble!
Thank you!!
Such a great POST Kelly!!!!! love the HOW TO!!>> you are the mostess hostess!! >>delightful party and most importantly, delightful party people!!!! so much creativity and heart all in one room! can’t wait to do something KellyGoLightly again!!!!
Such a fun party! xoxo
Let’s do it again! 😉
You define “hostess with the mostest” lady! Had so much fun!!
Your ensemble was the cat’s meow and made my night!
love the photo booth pics of you and fredbaby! xoxo
Aw, thanks. I think he liked being the only guy in a room full of 20+ girls. 🙂
this is just the cutest post ever! Amazing pictures…. looks like so much fun!
Thanks sugar plum!