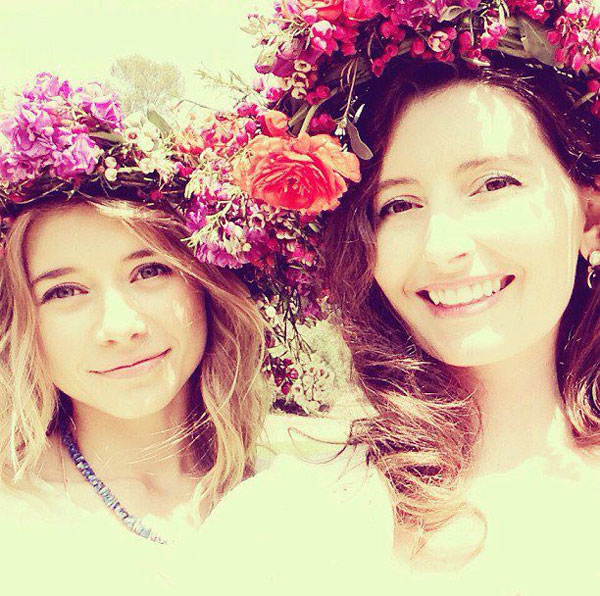
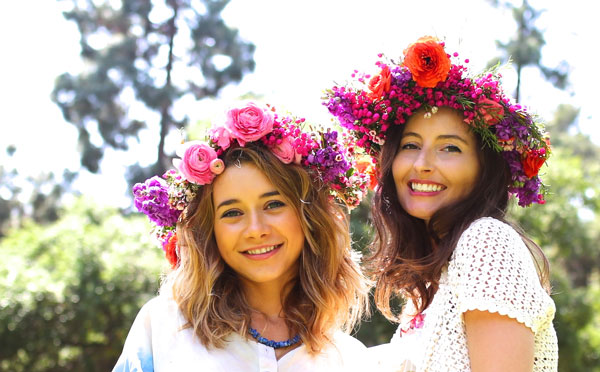
With spring in bloom and Coachella right around the corner, it seemed like the perfect time to make flower crowns, so I took a field trip to the LA Flower Mart with my friend Olesya Rulin and she showed me how. Olesya, who stars in the new dark comedy Family Weekend (watch it– it’s very Wes Anderson-esque and I loved it!), grew up in a small village in Russia where making flower crowns was second nature. As Olesya says, “My Mom would plop me down in a field and let me go to town,” and her way of making crowns is the best I’ve seen yet as it doesn’t require any supplies other than flowers! How great is that?
Olesya shows us the easiest way to make flower crowns (it’s so much fun!)…
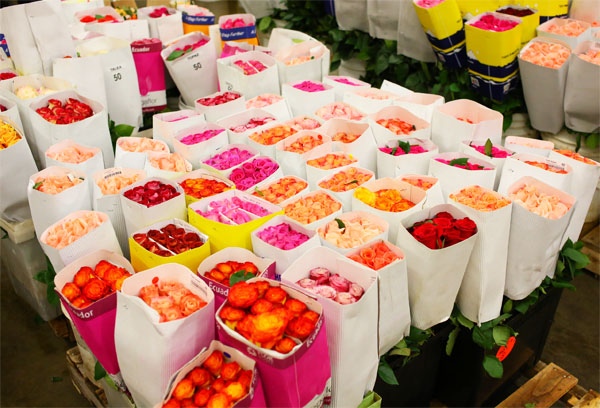
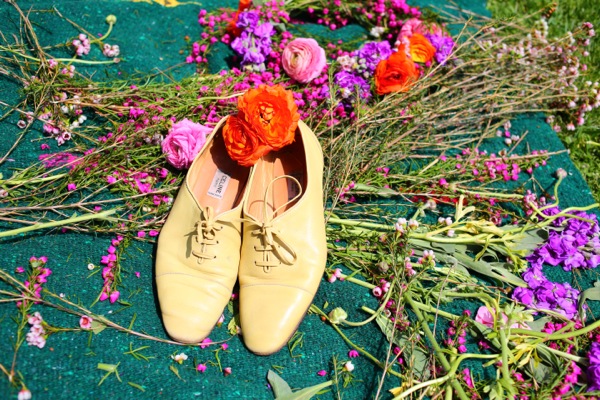
Step 1: Pick your flowers. We got ours from the LA Flower Mart (where florists buy their flowers, but they also have hours that are open to the public), where you’ll find the best variety and prices. You’ll want 1: a smaller yet bushy type of flower with a very pliable stem as your base like mattihola (stock) flowers, 2: one or two “show stopper” flowers that are larger and more colorful like ranunculus or garden roses, and 3: a thinner and smaller flower like wax flowers which you’ll use as your “string” to tie your other flowers onto your base.
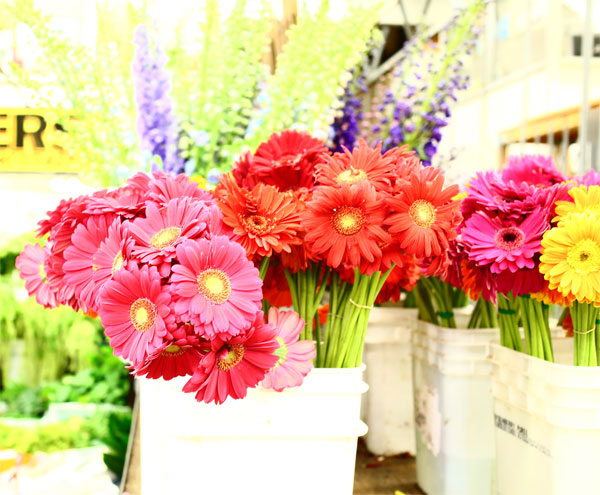
Tip: Haggle. Like at a flea market, you’ll get the best deals when it’s close to closing time and the vendors are packing up for the day. Can’t get to a flower mart? Try Trader Joe’s, who always has pretty flowers at great prices. Or, pick wildflowers! Last year before Coachella, Olesya says she pulled over on the side of the road to pick flowers and made a crown in 10 minutes (albeit a smaller version of the ones we made here).
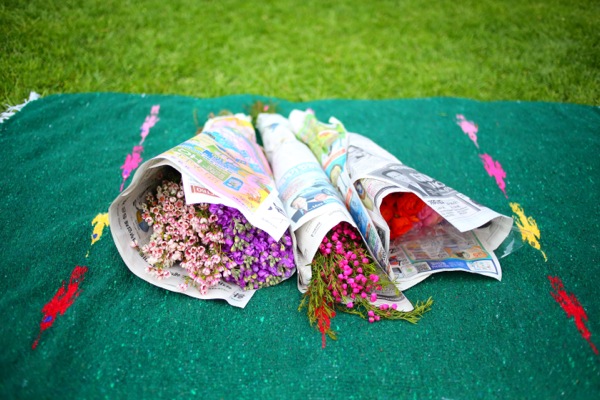
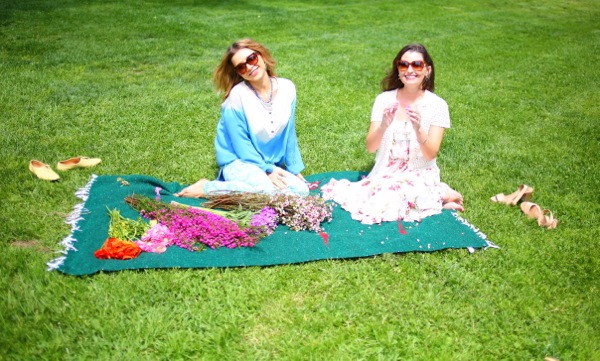
Step 2: Once you have your flowers, lay them all out. It was a beautiful day so we decided to make flower crowns in Griffith Park, which was a blast, but this would also make an incredibly fun baby shower or bridal shower activity.
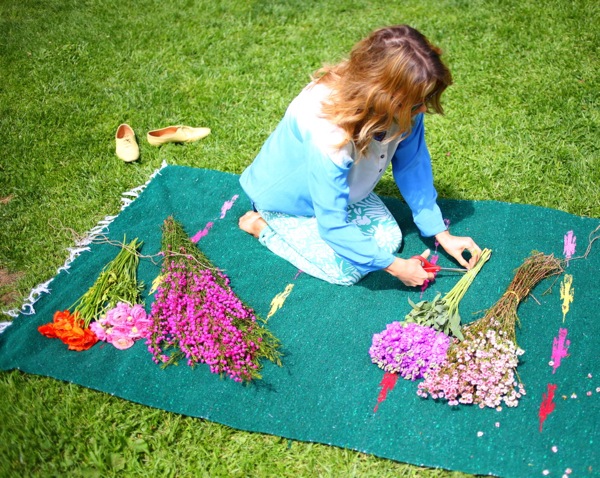
While you don’t need any supplies, a pair of scissors is helpful for snipping off the twine that the flowers are wrapped in, and double bonus, you can use that twine later to strengthen how tightly your flower crown is held together. I love using what you have.
Step 3: Separate your bunches of flowers and then find the point on each stem where they stop being pliable. Break off each stem at this point (you want them to be nice and bendy).
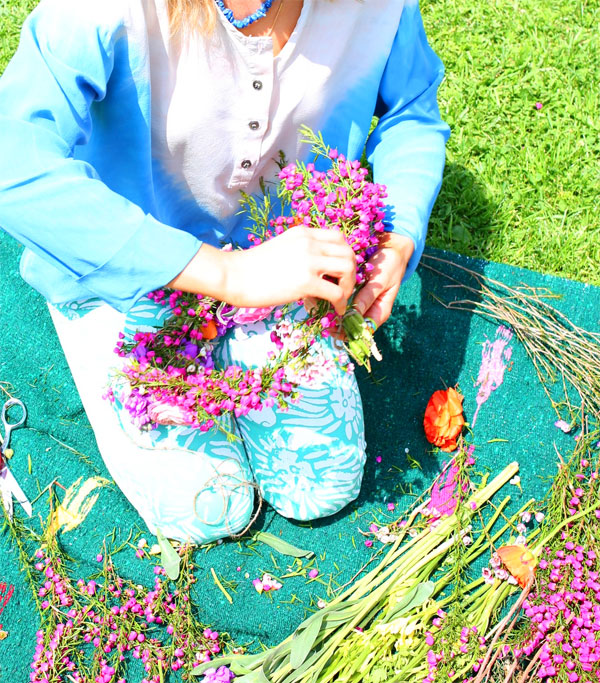
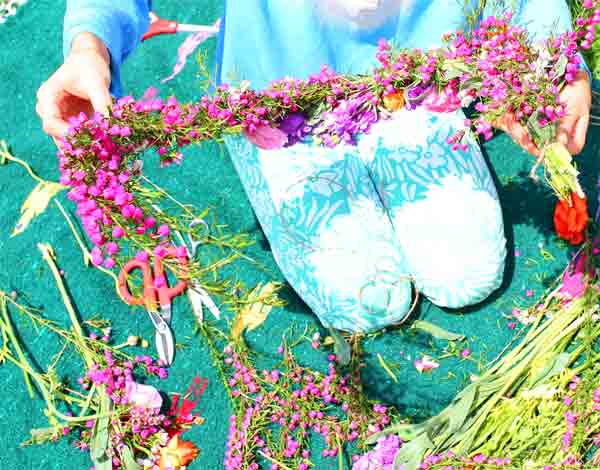
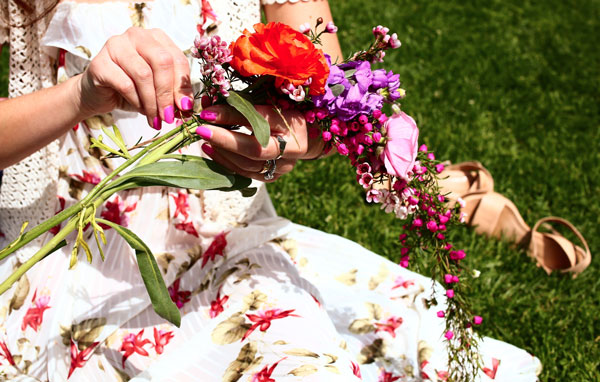
Step 4: While holding your base flower stem in your left hand (the small purple ones in this case whose name I should know, but don’t — sorry!), hold your small wax flower stem on top of it and then loop it around, continuing to hold both the stems now in your left hand. This is the basic tie-on process you will continue to use to make your flower crown. Loop and hold. Loop and hold. Loop and hold.
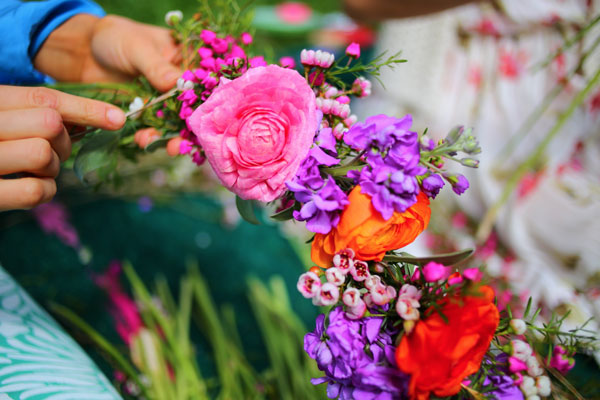
Step 5: Using the same loop and hold technique, tie on your bigger show-stopper flowers (in this case ranunculus). Simply lay your ranunculus on top; then using your small wax flowers, tie the ranunculus onto the large base by looping around, like it is string. Loop the wax flower stem around the base and ranunculus stems, continuing to hold all the stems now in your left hand. You’ll want to do this two or three times with the wax flower stems to tie on one larger flower, to make sure it’s nice and securely attached. Continue the process, while adding on a base layer as needed for length to fit around your head.
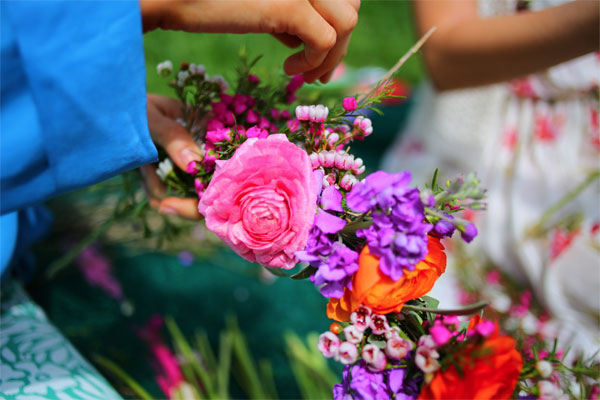
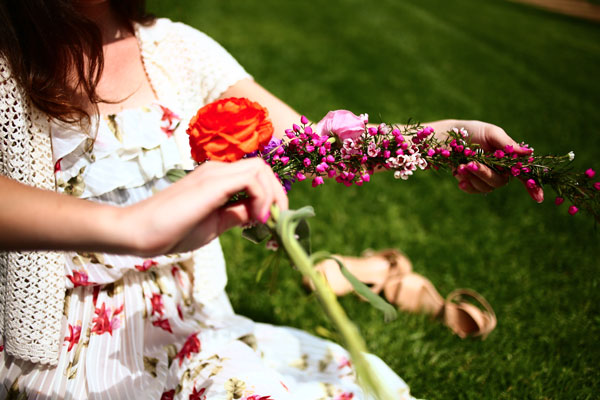
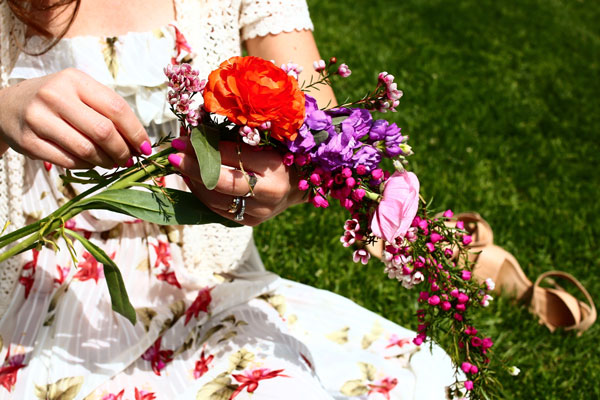
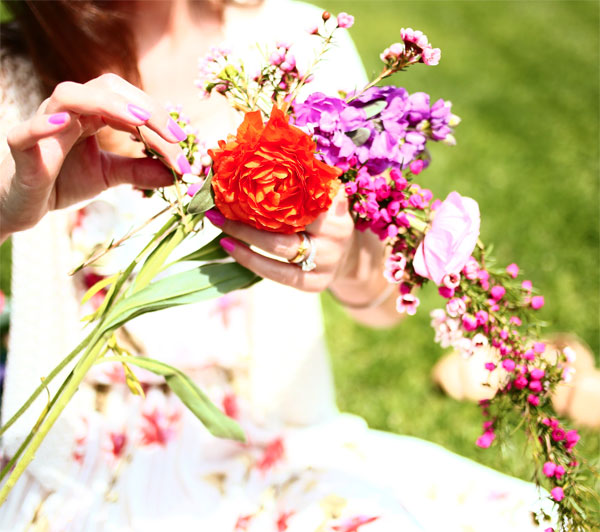
Step 6: Simply place around your head to measure the size that fits your cabeza. Tie it together at that point with flowers (or twine to make it more secure). You can also tie any flowers you feel are too loose with a bit of twine, if you’d like. Snip off any excess length.
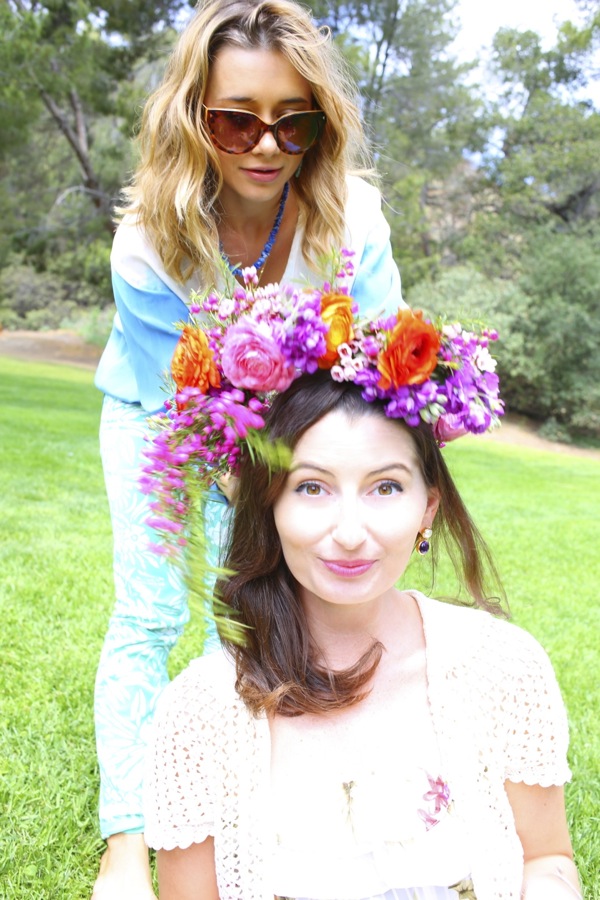
Voila, a flower crown!
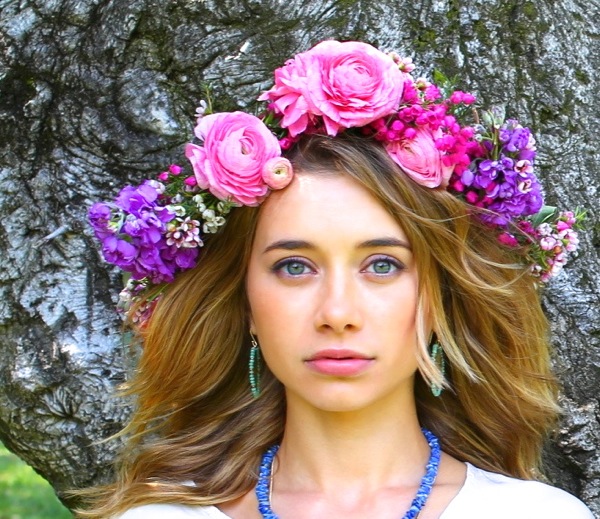
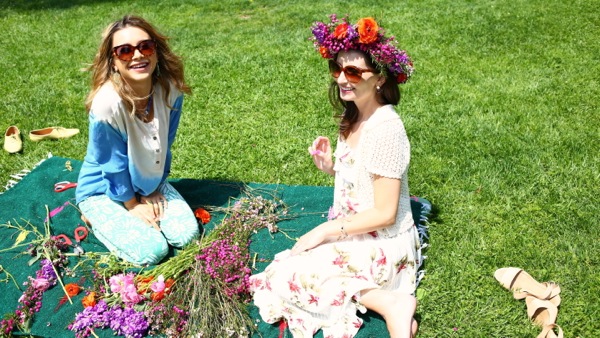
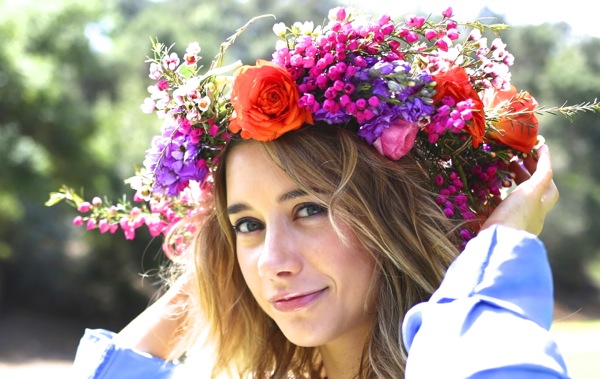
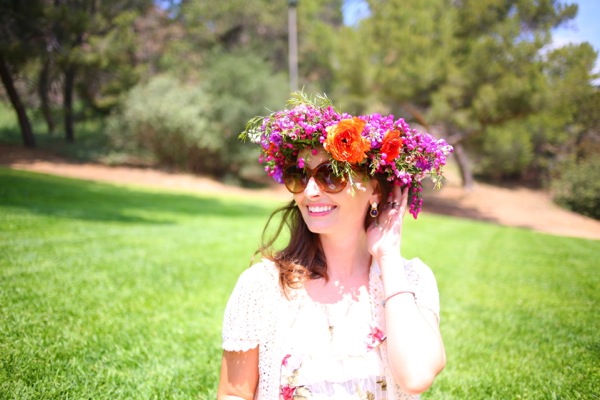
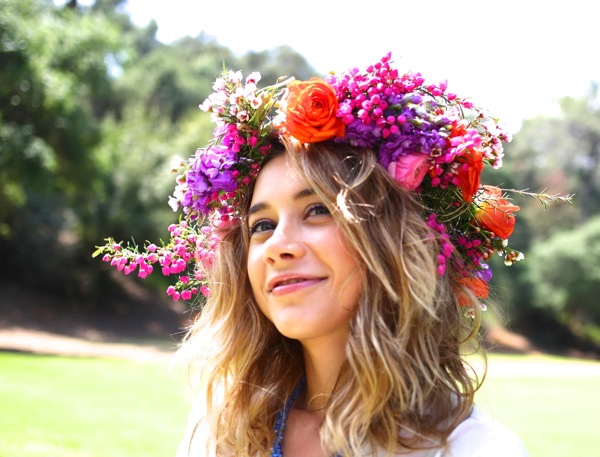
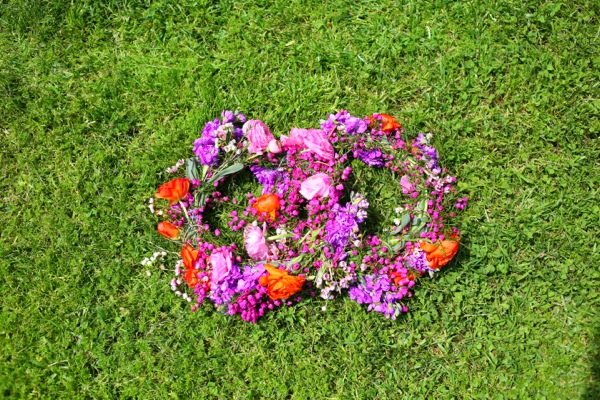
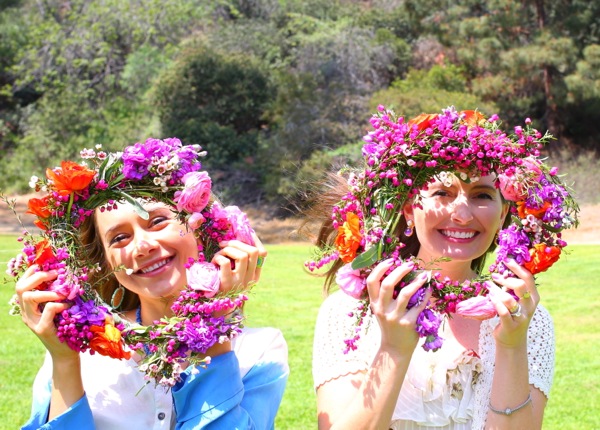
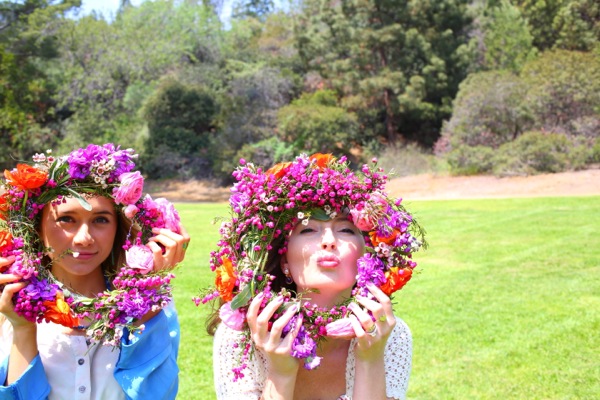
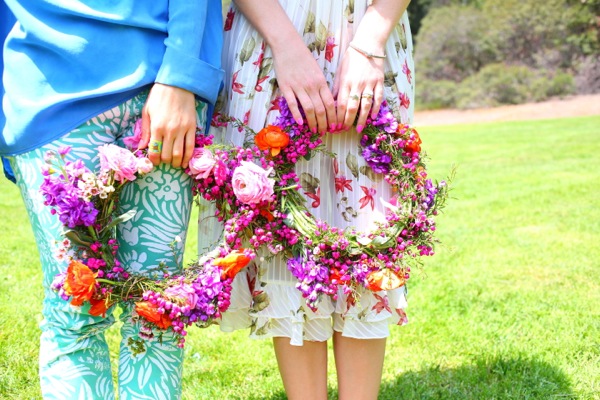
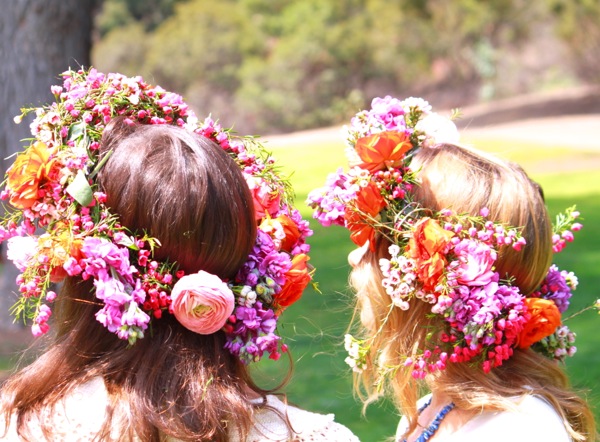
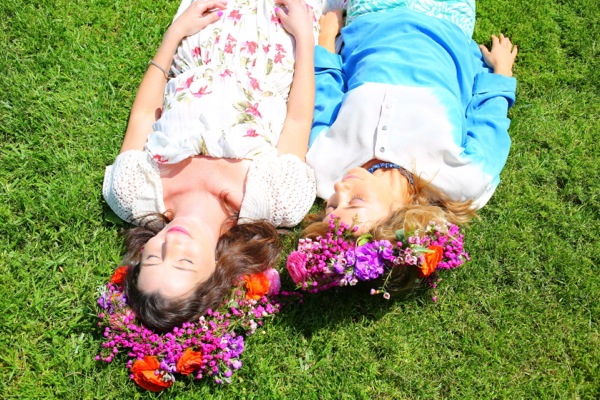
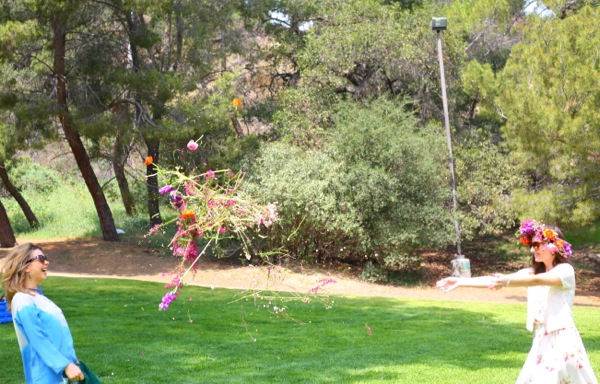
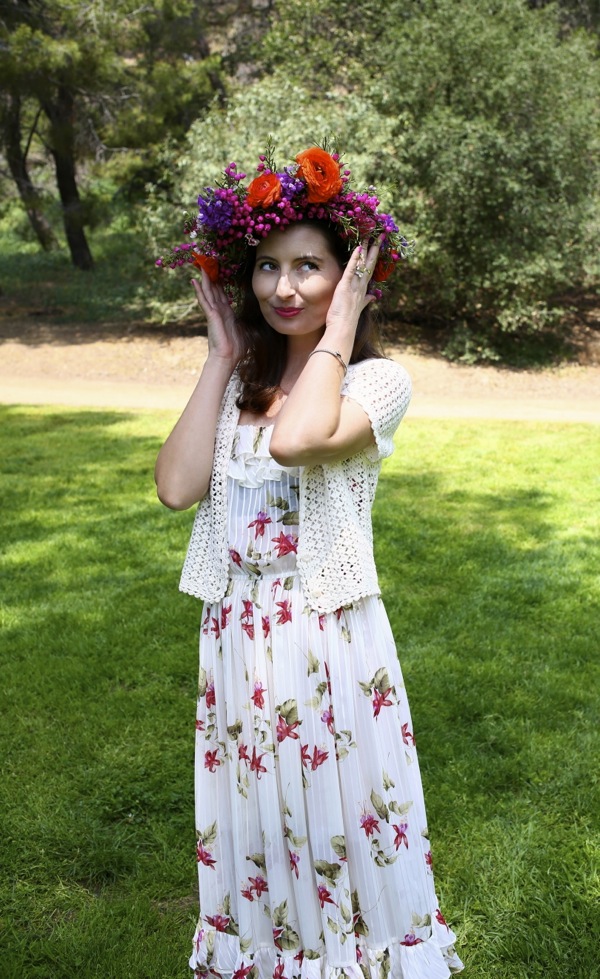
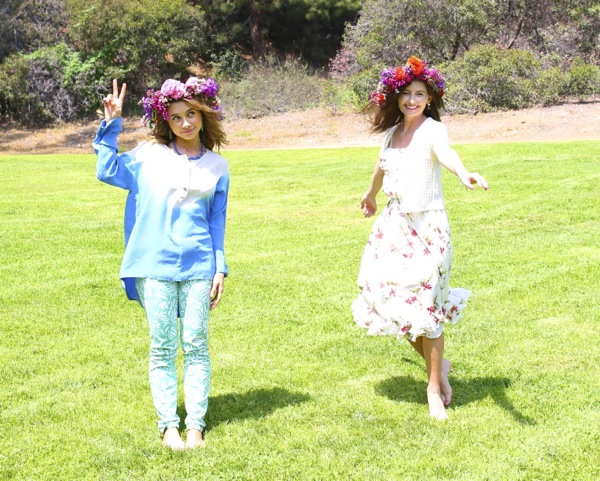
Proceed to frolic in a field like the flower child that you are! Seriously, it’s so much fun making flower crowns and I can’t wait to do it again!
Thank you to Olesya for showing us how and be on the lookout soon for a video from the day’s festivities that helps better demonstrate how to make flower crowns!
What I’m Wearing:
Vintage dress
Cynthia Steffe cardigan
Julie Vos earrings c/o
Zara heels
p.s. The only downside to flower crowns is how long they last, which is only about a day to look as fresh as they do here. I put mine in the refrigerator overnight and could wear it again for one more day (though not as spritely) and then hung it around a door knob to let it dry. Will see how it looks when we get back to LA next. But enjoy them while they last!
[Photos by FredBaby13]
related posts
Best Posts of 2013: DIYs
Video: How to Make a Flower Crown
Remember last April when Olesya showed us how to make flower crowns? Well, a mere six seven months later and […]
read moreHow To Make Drink Umbrellas
How To Make Flower Crowns
With spring in bloom and Coachella right around the corner, it seemed like the perfect time to […]
read moreOscars Party DIY: Bow Tie Pins
Last week I shared fun and easy Oscars party ideas for your own stylish Oscars viewing parties, […]
read more



Omg, the photos are fantastic! I love that you made your own flower crowns… so chic! xo
This is amazing! You two look absolutely stunning in these photos. Nice photography FredBaby!
FANTASTIC!
You look gorgeous in these photos and I just love the flower crowns!
What a cute idea…and you both look so pretty in your flower crowns.
Olesya looks like the Olsen twins…are they missing a sister???? haha